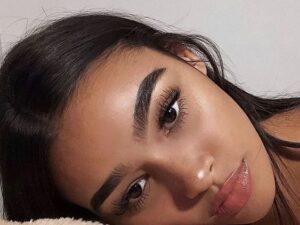
The Art Of Contouring: Tips, Tricks, And Products For Sculpted Cheekbones And More
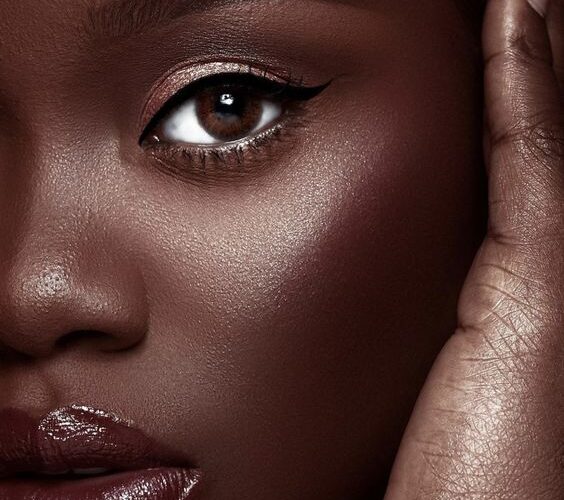
Today’s mission: achieving those Insta-worthy, sculpted cheekbones, nose and well everything that’ll have everyone asking, “What’s your secret?” Forget the flat face blues, darlings. We’re diving deep into the art of contouring – the technique that transforms your face from “meh” to masterpiece. This is your secret weapon for mastering this makeup magic!
Beyond the Basics: Unveiling the Art of Contour
Contouring might seem intimidating at first, but fear not. It’s all about creating an illusion of depth and dimension on your face. Think of it as sculpting your features with makeup – highlighting your best assets and minimizing areas you want to subtly downplay. The key? Choosing the right products and knowing where to place them.
Know Your Angles: A Face Mapping Masterclass
Before we dive into products, let’s get schooled on face mapping. Here’s a breakdown of the key areas we’ll be contouring:
- Cheekbones: This is the star of the show! Apply contour product just below your cheekbones to create a shadow and define their shape.
- Forehead: For a slimmer-looking forehead, sweep a contour shade along the hairline (avoiding your actual brows!).
- Jawline: Want a sharper jawline? Apply contour product along the bottom of your jaw, blending it downwards.
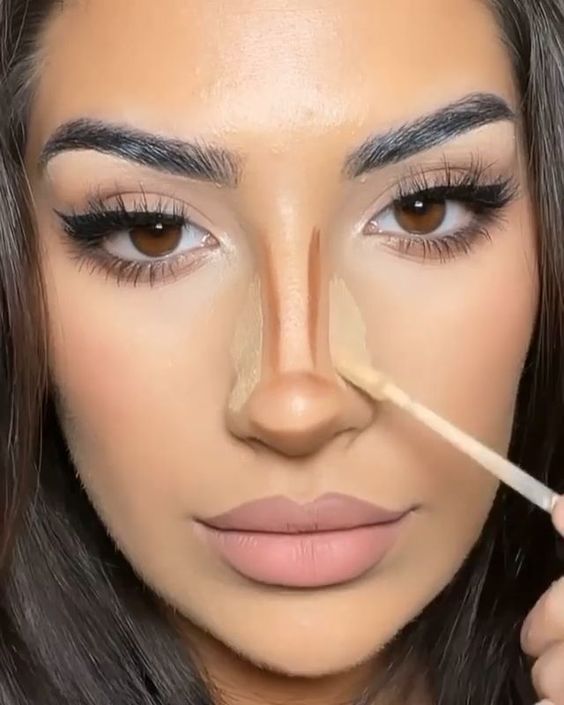
- Nose: For a narrower-looking nose, create a thin line down the bridge using a contour shade.
Product Picks: Choosing Your Contour Crew
Now, onto the fun part – the makeup! Here are the key products you’ll need to achieve a flawless contour:
- Cream Contour: This is a great option for beginners and dry skin types. It blends seamlessly and creates a natural-looking shadow. Think high-end brands like Charlotte Tilbury for luxurious cream contour options!
- Powder Contour: Perfect for oilier skin types, powder contour offers a more buildable and blendable application. Look for cult-favorites like the Anastasia Beverly Hills Contour Kit for a range of shades to suit different skin tones.
- Contour Sticks: These handy double-ended wonders offer a contour shade on one side and a highlighter on the other – perfect for sculpting and illuminating on the go! We love travel-friendly options like the Tom Ford Shade and Illuminate Stick.
Finding Your Shade: The Complexion Conundrum
Choosing the right contour shade is crucial. It shouldn’t be too dark or too light. Here’s a quick guide:
- Fair Skin Tones: Opt for cool-toned taupe or light brown shades for a natural contour.
- Light-Medium Skin Tones: Taupe or cool-toned brown shades will work best for you.
- Medium Skin Tones: Reach for warmer brown shades for a natural-looking contour.
- Deep Skin Tones: Rich chocolate browns or even deep red-brown shades will add definition without looking muddy.
Pro Tip: When in doubt, go a shade lighter for contour. You can always build up the intensity, but it’s harder to blend away a shade that’s too dark.
Mastering the Mix: Cream vs. Powder
The age-old debate. Cream contour is ideal for dry skin as it blends beautifully and creates a natural-looking shadow. Powder contour, on the other hand, is perfect for oily skin as it offers a more buildable and mattifying effect.
Here’s a secret weapon: you can even mix and match! Apply a cream contour for a base and set it with a powder contour for a long-lasting, sculpted look.
The Blending Bonanza: Your Key to Flawless Contour
Blending is key to achieving a seamless, natural-looking contour. Invest in a good quality makeup brush – a fluffy blending brush is your best friend. Use circular motions to buff out the harsh lines and blend the contour product seamlessly into your foundation.
Pro Tip: Use a damp beauty blender to buff out cream contour for an airbrushed finish.
Daylight Drama vs. Nighttime Glam: Tailoring Your Contour
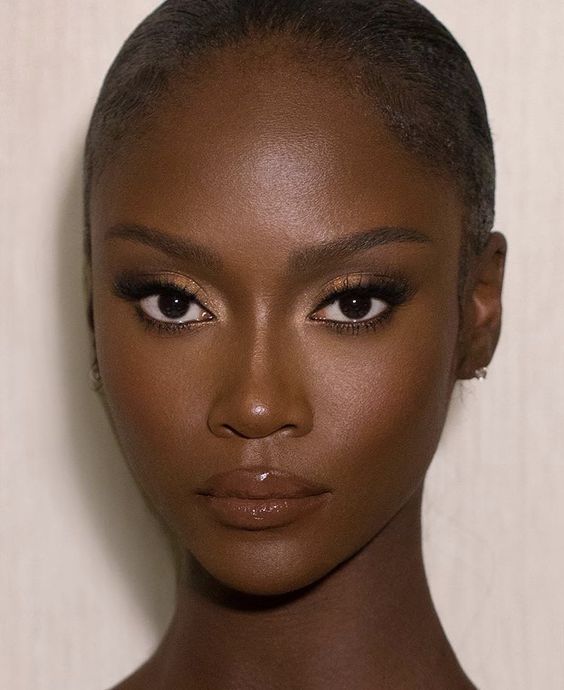
The beauty of contouring, is its versatility! For a daytime look, opt for a subtle contour using a lighter shade and a sheer application. Focus on defining your cheekbones and jawline, keeping the rest of your makeup natural and fresh.
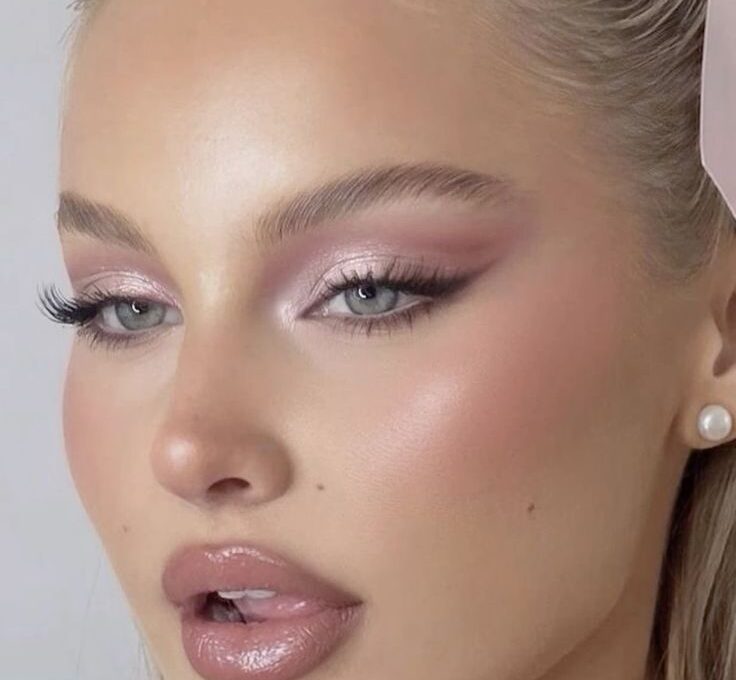
At night, you can take your contour up a notch! Use a darker shade and a more defined application to create a dramatic, sculpted look. Pair your nighttime contour with a smoky eye and a bold lip for a head-turning look. Remember, darlings, it’s all about balance! If your contour is dramatic, keep the rest of your makeup a little softer on the eyes or lips to avoid looking overdone.
Let There Be Light: Highlighting for Dimension
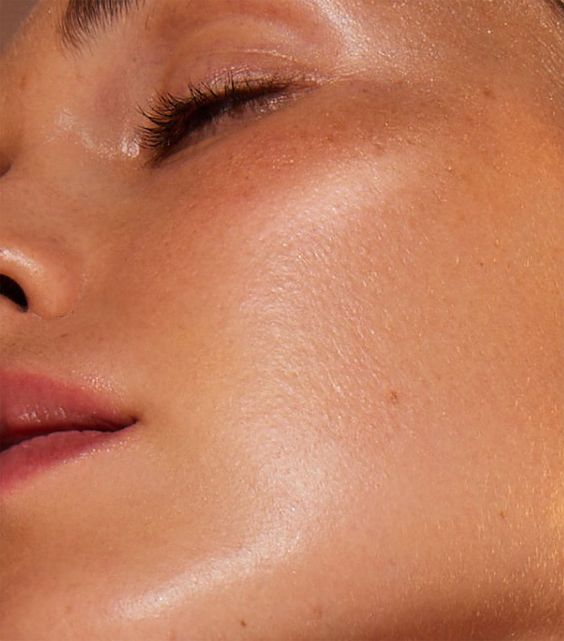
Now that you’ve sculpted your shadows, let’s add some light! Highlighting is your BFF for bringing those cheekbones to life and adding dimension to your face. Apply highlighter to the tops of your cheekbones, brow bone, and cupid’s bow to create a natural, dewy glow.
Cream vs. Powder Highlighter: Pick Your Player
Just like contour, highlighters come in cream and powder formulas. Cream highlighters offer a dewy, natural-looking glow, while powder highlighters are more buildable and perfect for oily skin types.
Shh! Secret Techniques: The Tricks Of The Trade
We all love a good beauty hack, right ? Here are a few secret techniques to take your contour game to the next level:
- The “3” Technique: For perfectly sculpted cheekbones, draw a “3” shape with your contour product starting at the top of your ear, going down towards your cheekbone, and then angling inwards towards the corner of your mouth. Blend, blend, blend!
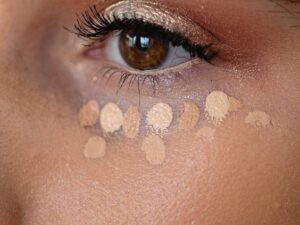
- The Overlining Trick: Want fuller-looking lips? Apply concealer around the outside of your lip line to create a sharper edge. Then, line and fill in your lips with your favorite lipstick or lip liner.
- Cream Blush for Extra Dimension: After applying your contour and highlighter, add a pop of cream blush to the apples of your cheeks. This adds a natural flush of color and blends beautifully with your cream contour.
The Golden Rules of Contouring: Avoid Disaster!
A few quick tips to avoid contour catastrophes:
- Start Light: It’s easier to build up the intensity of your contour than to take it away.
- Blend, Blend, Blend: We can’t stress this enough! Harsh lines are the enemy of a flawless contour.
- Don’t Forget Your Neck: Blend your contour product down onto your neck to avoid tidelines (a makeup line where your face makeup meets your neck makeup).
- Practice Makes Perfect: Like anything else, contouring takes practice. Don’t get discouraged if you don’t get it right the first time. Keep experimenting and find what techniques work best for you.
Contouring for Mature Skin: Ageless Beauty Secrets
Let’s talk about our mature mavens out there! Contouring can be a lifesaver for adding definition and a youthful glow to your face. Here are a few tips for contouring mature skin:
- Opt for Cream Products: Cream formulas tend to blend more seamlessly on mature skin than powder products, which can settle into fine lines and wrinkles.
- Light Hand is Key: Apply your contour product with a light touch. You don’t need a lot to create definition.
- Focus on Highlighting: Highlighting is your friend when it comes to mature skin! It helps to add luminosity and lift the face.
The secrets to achieving sculpted cheekbones and a flawless contour are now yours to conquer. Remember, makeup is all about having fun and expressing yourself. So, grab your brushes, experiment with different techniques, and don’t be afraid to rock a bold contour.
From One It Girl To Another, We Should Keep In Touch. Sign Up For Our Emails!
We Have So Much To Update You On. Sign Up For Exclusives, Deals And More.
