Makeup Application Tips That Makeup Artist Use
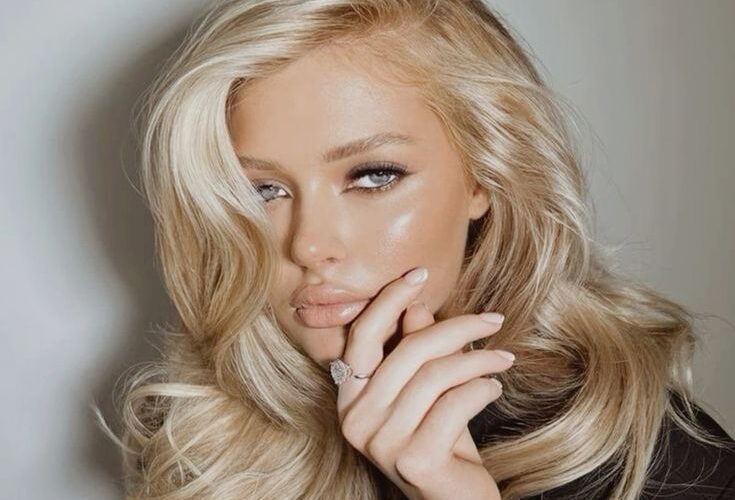
Let’s get right into it.
The Upside-Down Concealer Hack: This might sound strange, but trust me! When concealing under-eye circles, try applying your concealer in an upside-down U-shape, starting at the outer corner of your eye and following the socket line upwards towards your temple. Then, blend downwards and inwards towards the center of your under-eye area. This technique lifts and supports the under-eye area, creating a smoother, more youthful appearance.
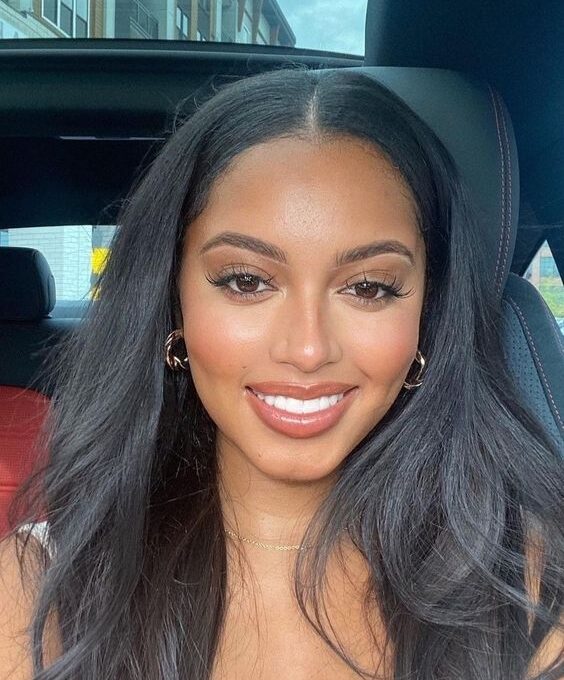
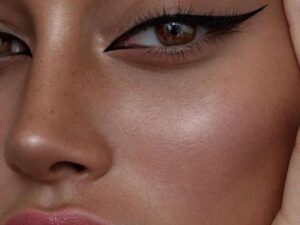
Cream Blush for Defined Cheekbones: Cream blush is fantastic for a natural look, but did you know you can use it for sculpting too? Apply a slightly darker shade of cream blush (think cool-toned taupe for fair skin or a warm terracotta for deeper tones) right below your cheekbones, following the hollow from the temple down towards your jawline. Blend this upwards and outwards to seamlessly connect it to your regular blush application. This creates a subtle shadow effect, giving your cheekbones a more defined look.
The “C” Contour Trick: Contouring can feel harsh for a natural look, but there’s a way to add subtle definition without going overboard. Use a cream bronzer two shades darker than your foundation shade and apply it in a “C” shape starting at your temples, following your cheekbones down towards your jawline, and then curving inwards slightly under your chin. Blend this upwards and outwards with a damp beauty blender to create a natural, sculpted effect.
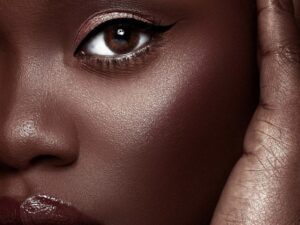
Inner Eye Highlight for Wide Awake Eyes: A natural makeup look is all about brightening the eyes. Here’s a pro tip: after applying your concealer, use a tiny bit of a light, shimmery highlighter (think champagne or pearl for fairer skin tones or a soft gold for deeper tones) on the inner corner of your eye, right next to your tear duct. This tiny pop of light instantly brightens and widens the appearance of your eyes.
Brow Powder Layering for Dimension: For natural-looking brows, ditch the harsh lines and embrace a bit of texture. Start by filling in your brows with a brow powder that matches your natural hair color. Then, use a slightly lighter shade of the same powder to highlight the arch of your brow and the area under the brow bone. This creates a natural gradient of color, adding dimension and mimicking the way natural brows grow.
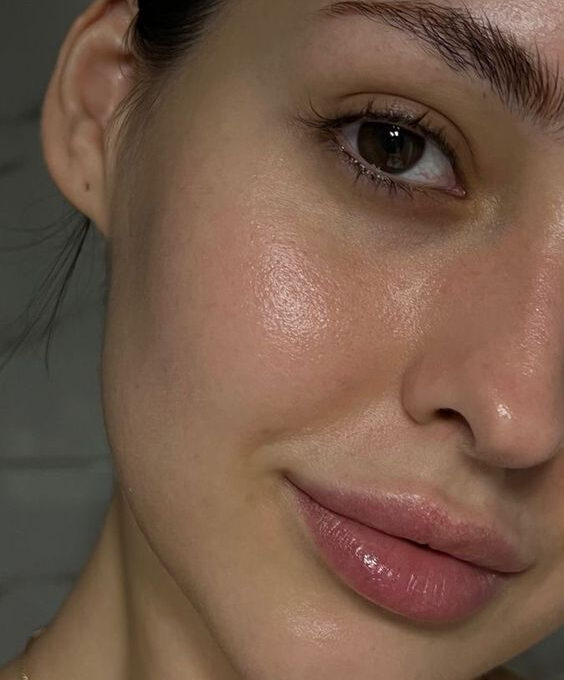
Setting Powder for Oily Zones (Without Ruining the Glow): Setting powder is key for making your makeup last, but using too much can make your natural glow disappear. Here’s the secret: apply setting powder only to areas that tend to get oily, like your T-zone (forehead, nose, and chin). Use a light hand and a fluffy brush to dust on a translucent powder, focusing on pressing the powder into your skin rather than swiping it back and forth. This will control oil without looking cakey.
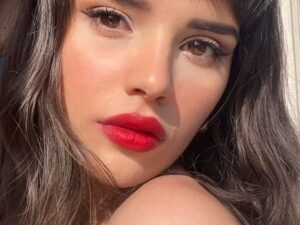
The “Lip Flip” for Fuller Lips: Want fuller-looking lips without resorting to fillers? Try the “lip flip” technique! Line your lips with a lip liner that matches your natural lip color, but overline only the center of your cupid’s bow (the little dip in your upper lip). Then, fill in your entire lips with a lipstick or gloss that matches the liner shade. This subtle overlining plumps the appearance of your lips without looking unnatural.
Remember, these are just a few secret tips to elevate your natural makeup game. The most important thing is to practice and have fun! Play with different techniques and find what works best for you and your unique features. After all, the best makeup is the one that makes you feel confident and beautiful in your own skin.
From One It Girl To Another, We Should Keep In Touch. Sign Up For Our Emails!
We Have So Much To Update You On. Sign Up For Exclusives, Deals And More.
