


How To Do Natural Makeup Without Foundation

Let’s break it down into easy-to-follow steps and dive deeper into the application process, focusing on where to apply each product and additional tips to enhance your natural beauty.
Step 1: Prep Your Skin
First things first, skincare is key! Before diving into makeup, make sure your skin is prepped and hydrated. I’m talking about using a luxurious moisturizer like Chanel Hydra Beauty Gel Crème. This stuff is like magic in a jar, leaving your skin feeling plump and radiant.
- Start by cleansing your face with a gentle cleanser to remove any dirt, oil, and makeup residue.
- Follow up with your favorite moisturizer to hydrate and prime your skin for makeup application. We love using the Chanel Hydra Beauty Gel Crème for its lightweight, hydrating formula that leaves our skin feeling plump and radiant.
Step 2: Apply Tinted Moisturizer Or BB Cream
Now, onto the makeup goodies. Instead of foundation, let’s opt for a lightweight tinted moisturizer or BB cream. These babies provide just enough coverage to even out your skin tone while still letting your natural beauty shine through. One of our faves is the Laura Mercier Tinted Moisturizer. It’s like a second skin, girl!
When it comes to application, less is more. Start by dotting the tinted moisturizer or BB cream onto your skin and blend it out using a damp beauty sponge or your fingertips. Focus on areas where you need a little extra coverage, like around the nose and under the eyes. Oh, and don’t forget to blend down your neck for a seamless finish.
- Dot a small amount of tinted moisturizer or BB cream onto your forehead, cheeks, nose, and chin.
- Use a damp beauty sponge or your fingertips to blend the product evenly across your face, focusing on areas that need extra coverage.
- Don’t forget to blend down your neck for a seamless finish. We want that natural transition, girl!
Step 3: Spot Conceal
Now, let’s talk about those pesky blemishes and dark circles. For spot concealing, reach for a creamy concealer like the NARS Radiant Creamy Concealer. Dab a small amount onto any areas that need a little extra love and blend it out with a concealer brush or your fingertip. Voila! Flawless complexion achieved.
- For any blemishes or dark circles, dab a tiny amount of concealer onto the affected areas using a concealer brush or your fingertip.
- Gently blend the concealer into your skin until it seamlessly blends with the tinted moisturizer or BB cream. Remember, we’re aiming for a flawless complexion without looking cakey or overdone.
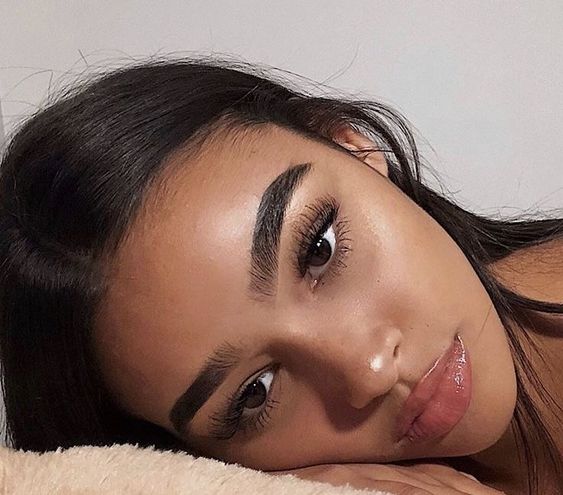
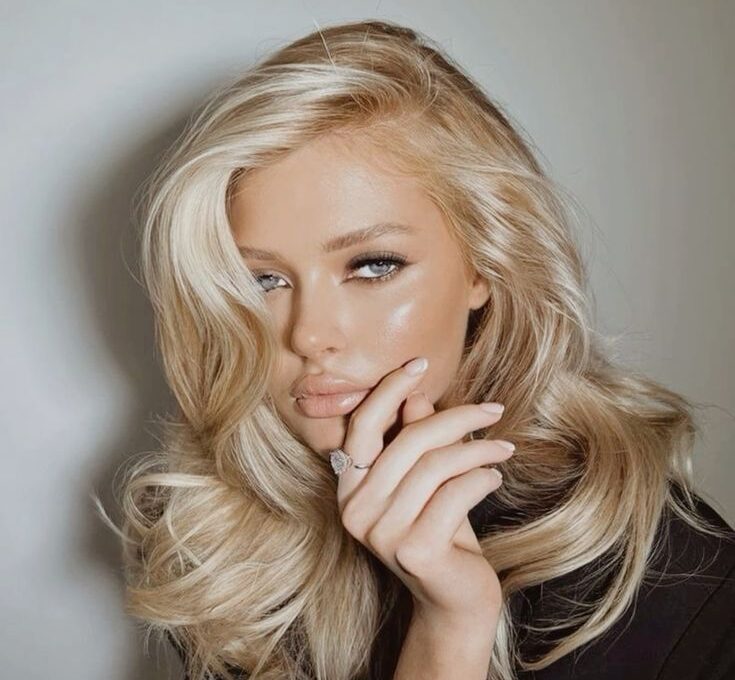
Step 4: Add A Touch Of Highlighter
For that natural glow, we can’t forget about highlighter. Opt for a cream or liquid formula for a more subtle effect. I’m obsessed with the RMS Beauty Living Luminizer. Just dab a tiny amount onto the high points of your face – think cheekbones, brow bones, and cupid’s bow – and blend it out with your fingertips for a lit-from-within glow.
- Pick up a cream or liquid highlighter and dab a small amount onto the high points of your face – think cheekbones, brow bones, and cupid’s bow.
- Use your fingertips to blend the highlighter into your skin for a natural, lit-from-within glow. We want to look like we’re glowing from within, not like we just stepped out of a disco ball!

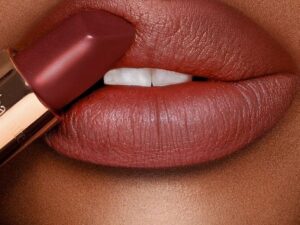
Step 5: Apply Cream Blush
Now, let’s add some color back into those cheeks. Reach for a cream blush for a fresh, dewy look. I’m loving the Chanel Les Beiges Healthy Glow Sheer Colour Stick in shade No. 21. Just smile and apply a small amount onto the apples of your cheeks, then blend it out towards your hairline for a natural flush.
- Smile and apply a small amount of cream blush onto the apples of your cheeks.
- Blend the blush out towards your hairline using your fingertips or a blush brush for a natural flush of color. We’re going for that healthy, just-pinched look, girl!
Step 6: Set Your Makeup
To finish off the look, set everything in place with a translucent powder. This will help to control shine and keep your makeup looking fresh all day long. I swear by the Laura Mercier Translucent Loose Setting Powder. Just dust a light layer over your T-zone and any areas prone to oiliness.
- To keep your makeup in place all day, lightly dust a translucent powder over your T-zone and any areas prone to oiliness.
- This will help control shine without mattifying your skin, ensuring your natural glow shines through.
Additional Tips:
- When choosing a tinted moisturizer or BB cream, opt for one that matches your skin tone closely to avoid any noticeable demarcation lines.
- Blend, blend, blend! Whether you’re applying tinted moisturizer, concealer, or blush, always take the time to blend your makeup seamlessly into your skin for a flawless finish.
- Less is more, babe! Start with a small amount of product and build up coverage as needed. We want our makeup to enhance our natural beauty, not mask it.
- Don’t forget about skincare! A good skincare routine lays the foundation for a flawless makeup application. Make sure to cleanse, moisturize, and protect your skin with sunscreen daily.
And there you have it, girl! With these steps and tips, you’ll be rocking that no-foundation makeup look like a pro.
From One It Girl To Another, We Should Keep In Touch. Sign Up For Our Emails!
We Have So Much To Update You On. Sign Up For Exclusives, Deals And More.